

a friend was delighted by the reduced sensitivity of the proximity sensor on my seeker 3 pro has asked me to do it for his light. I obliged and figured I'd show you guys how I did it without totally disabling the sensor.
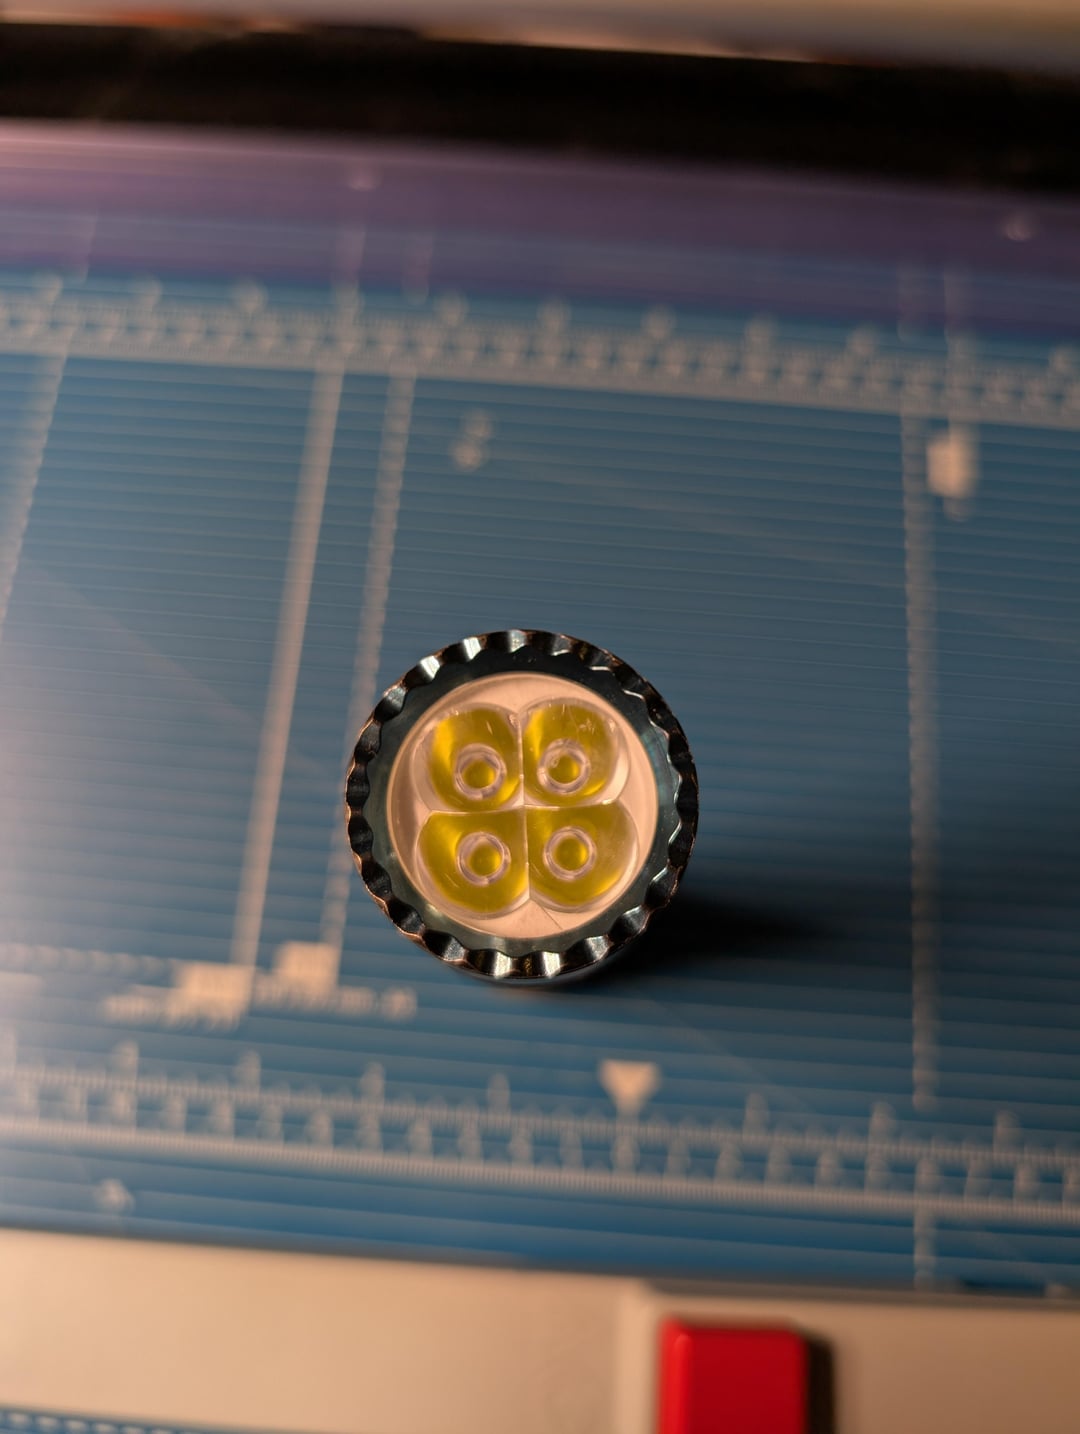
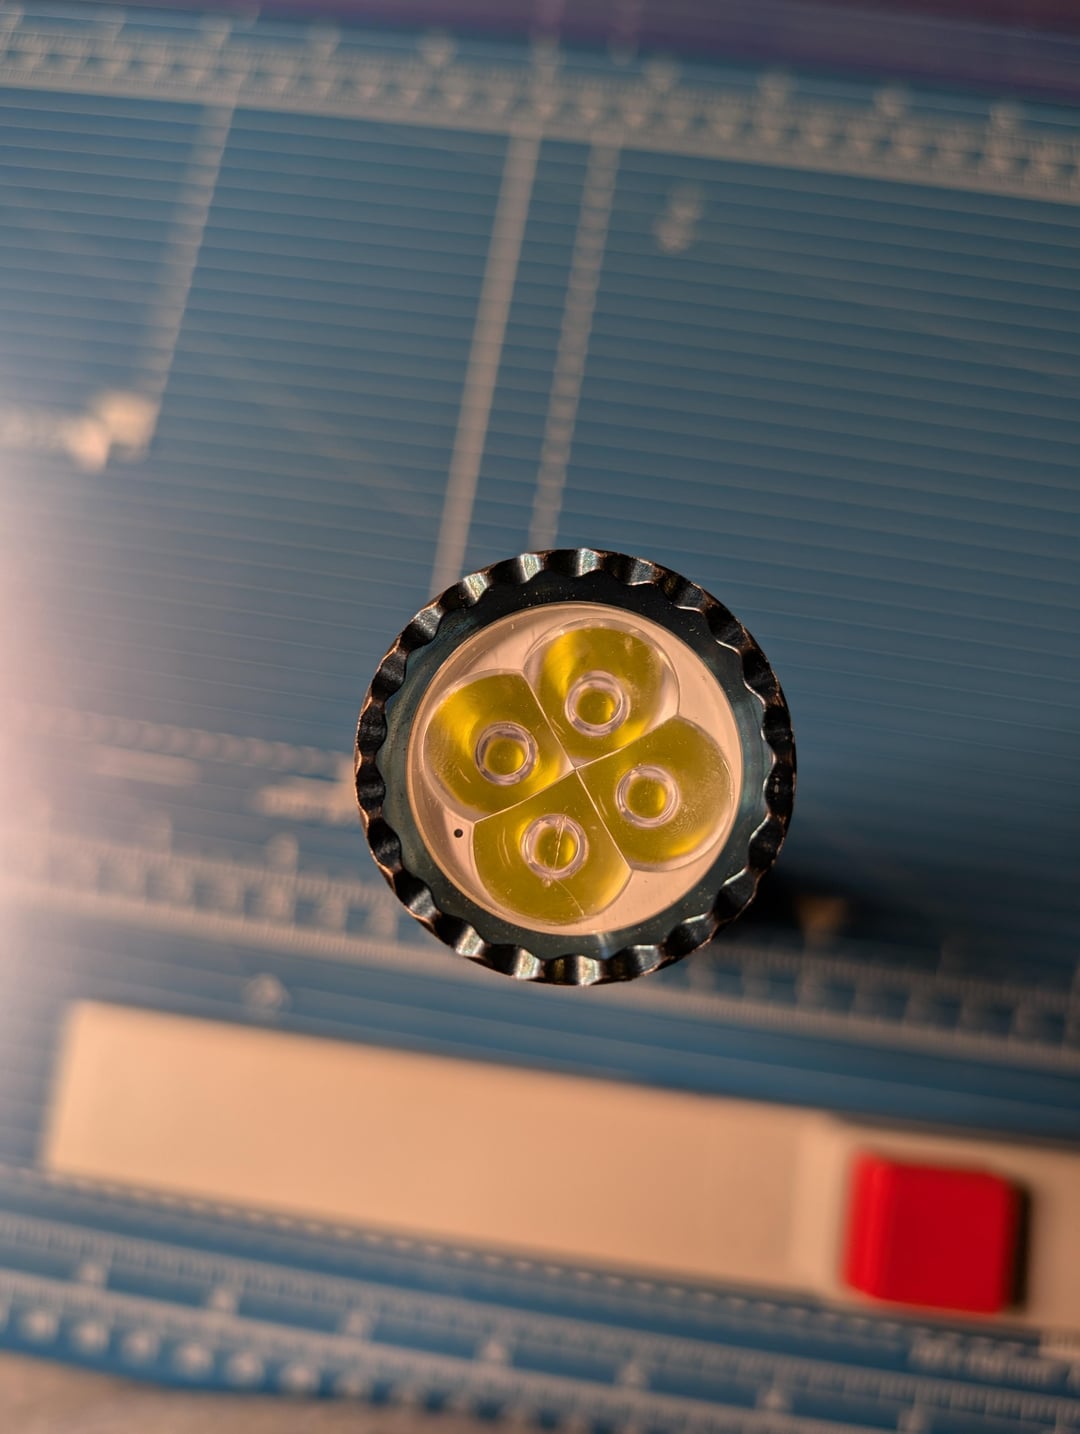
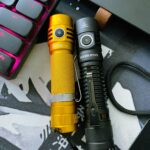
The first image is how the final product looks, it is my opinion this won't invalidate your warranty because it can very easily be reversed. All we're doing here is putting a little piece of paper in front of the opening for the fiber optic element that feeds the sensor within the body of the light. This reduces the amount of light that reaches the sensor and can be tuned by using thicker or thinner paper, experiment to your liking!
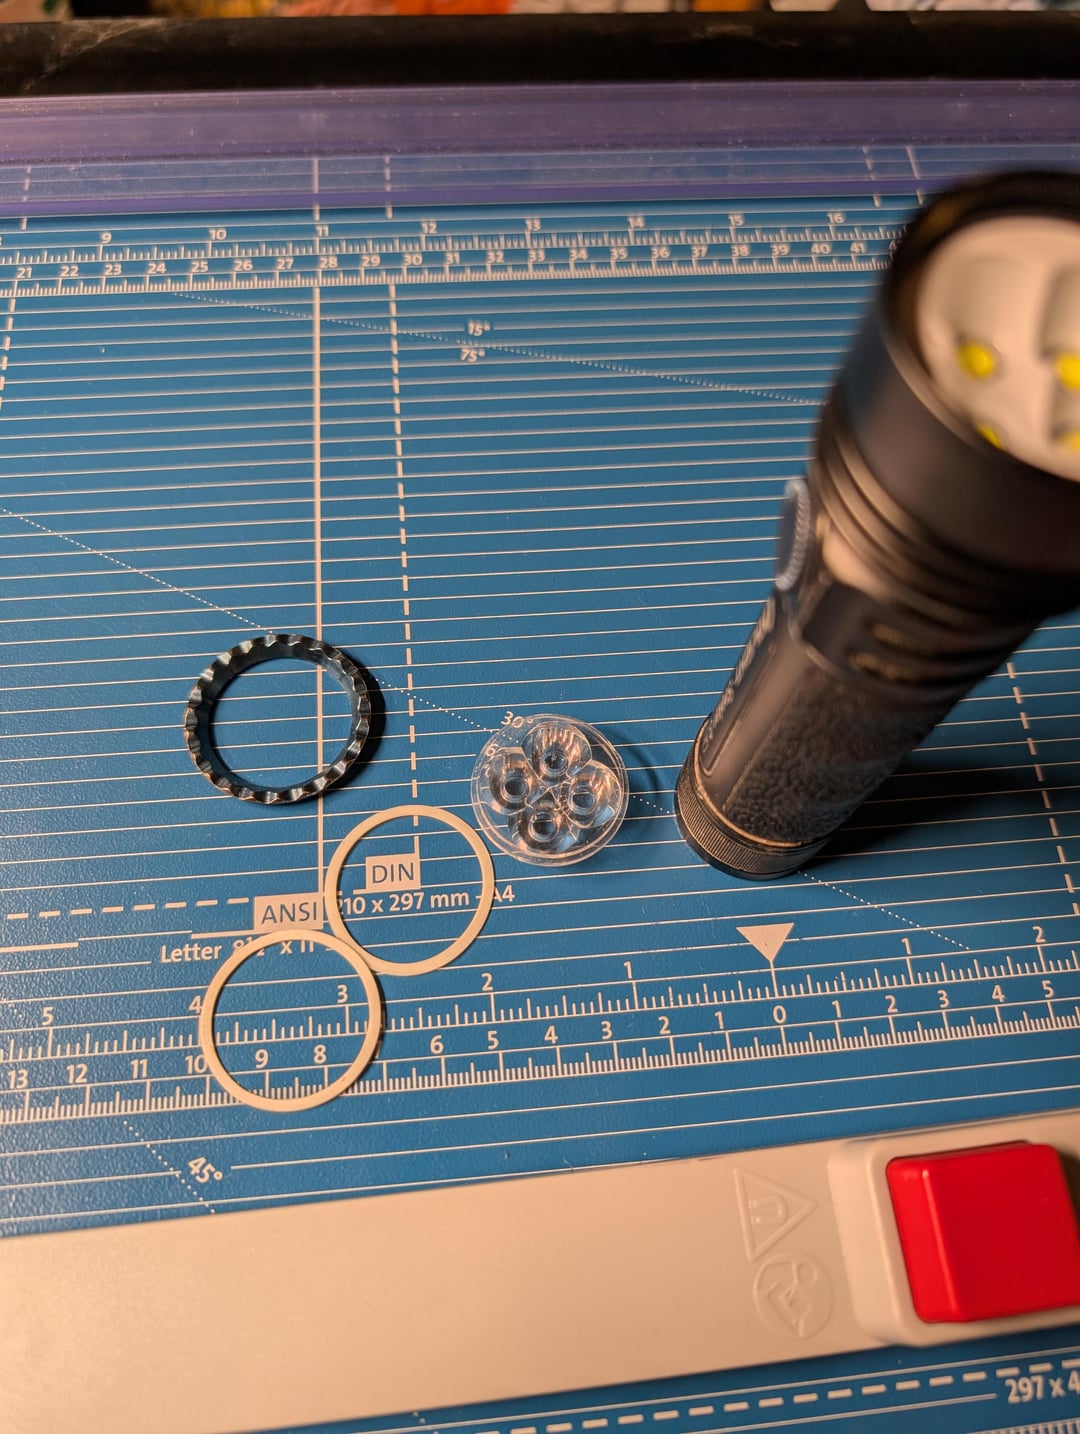
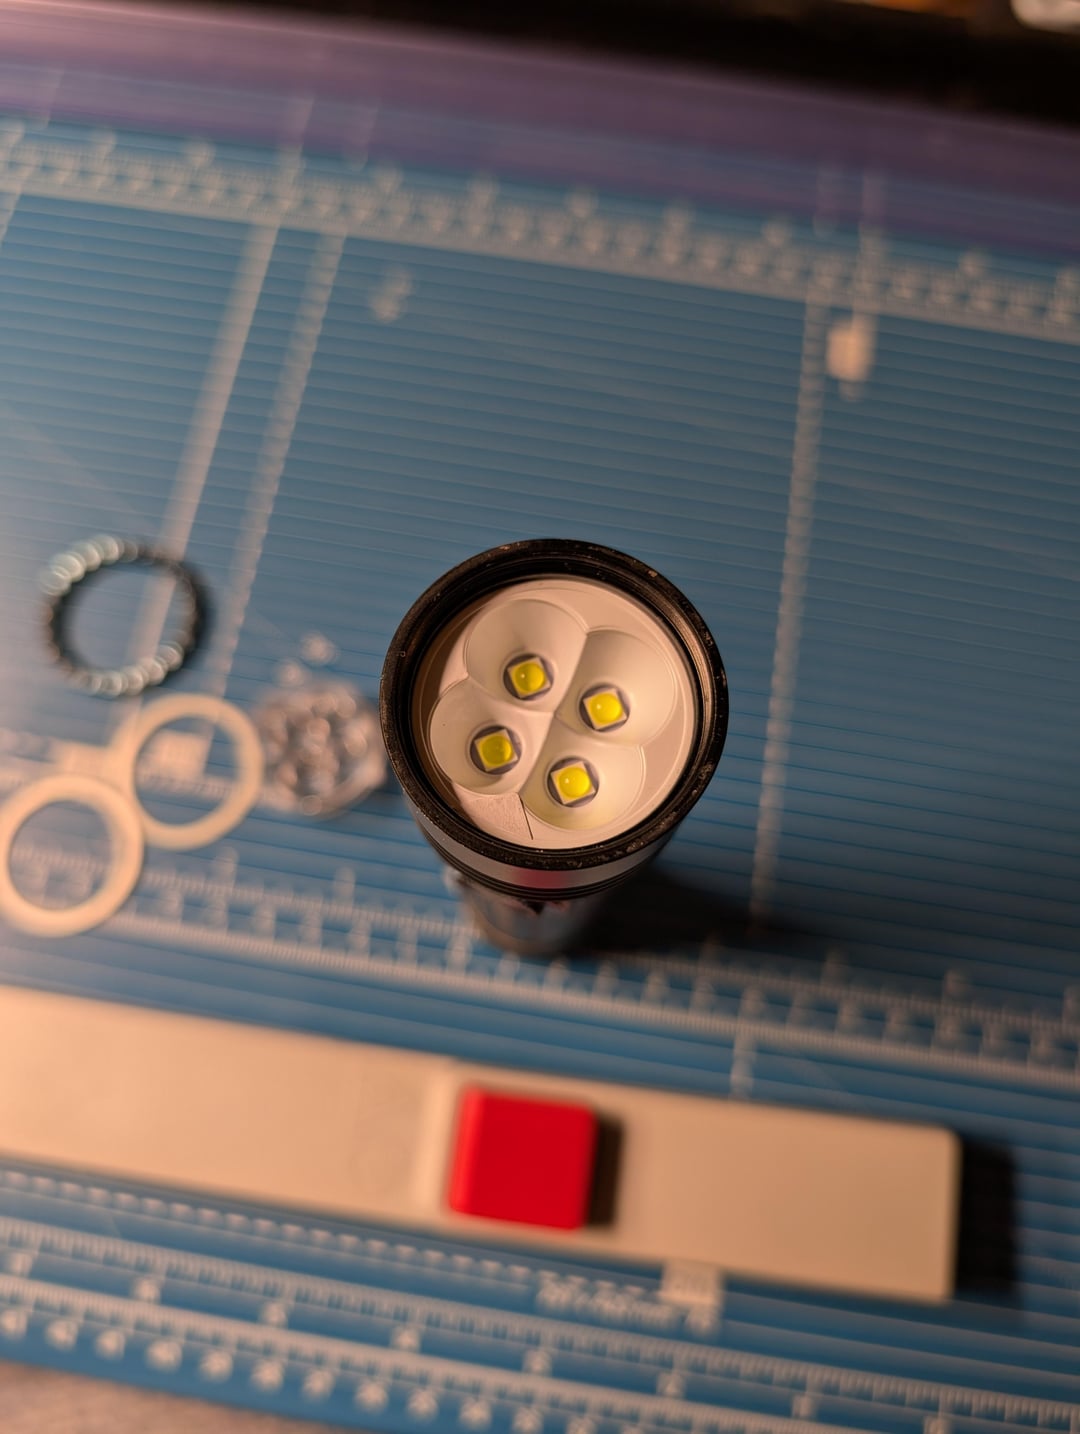
taking this light apart is very very easy to do as all you need to do is remove the bezel, in the case of the seeker 3 pro and seeker 4 pro I can confirm they are screwed on. The bezels are on a little tight so you may need to jam it into the bottom of a shoe and twist to get it loose. Once you have it loose you can unscrew it the rest of the way with your fingers.
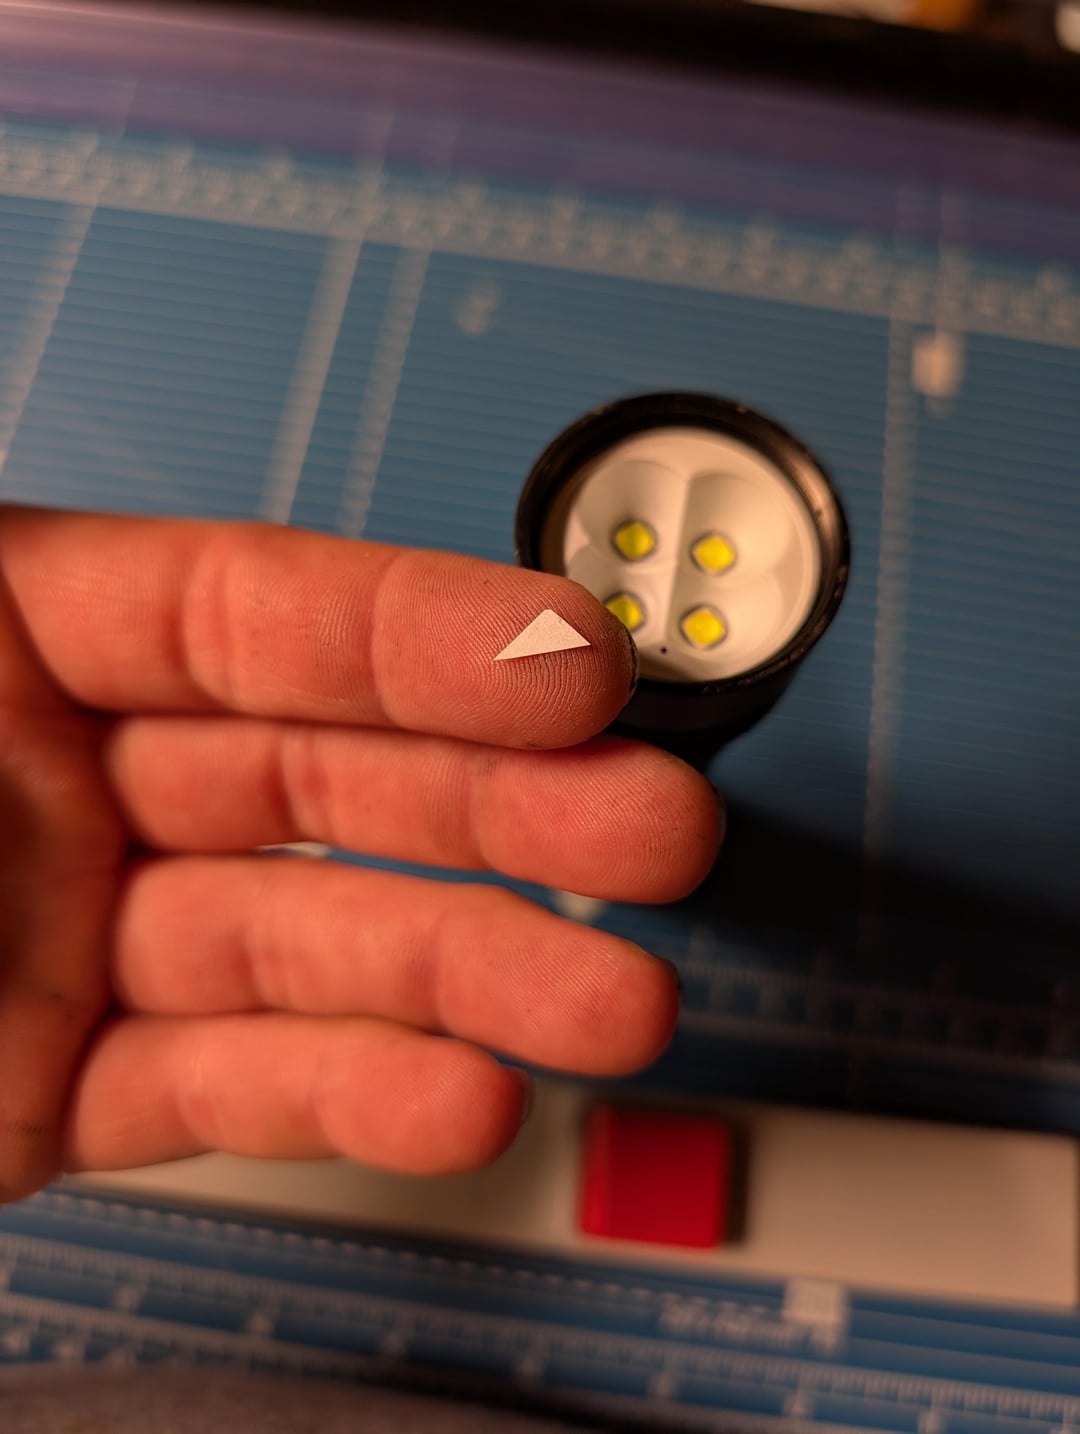
With the bezel off you simply turn the light optic down and tap it against your hand until the optic falls out, once it's out you place your little piece of paper in front of the hole you can see on the white cosmetic ring and put everything back together. when you're putting things back together ensure the softer white ring is touching the optic and not the bezel, this is your gasket. the harder white ring is an interface ring that prevents the gasket from being deformed when screwing down the bezel.
by TheArchangelLord

 Fraz Labs QT-L Nugget")

1 Comment
👍👍