
I’m back with some more Maglite modding! This one is nothing new, it was a lot of fun though. Before going any further, I just want to say this was completely inspired by the Candlepowerforums legend, Old Lumens. I used to see 1D conversions and think “well of course I can’t do that, I don’t have a lathe” until I saw Old Lumens basically saying “Wanna bet?” And doing this (far more skilled than me) with a Dremel bit and a hacksaw.
With that out of the way, a few things to note are that I’m by no means claiming this to be well executed, that I’m no machinist I’m just some dude who does this in his basement after his son goes to bed and in between reading Clive Cussler novels and playing Slay the Spire 2 with his wife, and that I have some ideas on how I can do this better with my set up and will try this again some day.
A while back I got an eBay lot for some damaged, for-parts Maglites. I firmly believe that most Maglites can be salvaged, no matter how abused they’ve been. This one started as a 3D cell had a horribly corroded battery in the middle of the barrel. I couldn’t reach it with my tools to knock it loose so it was a prime candidate.
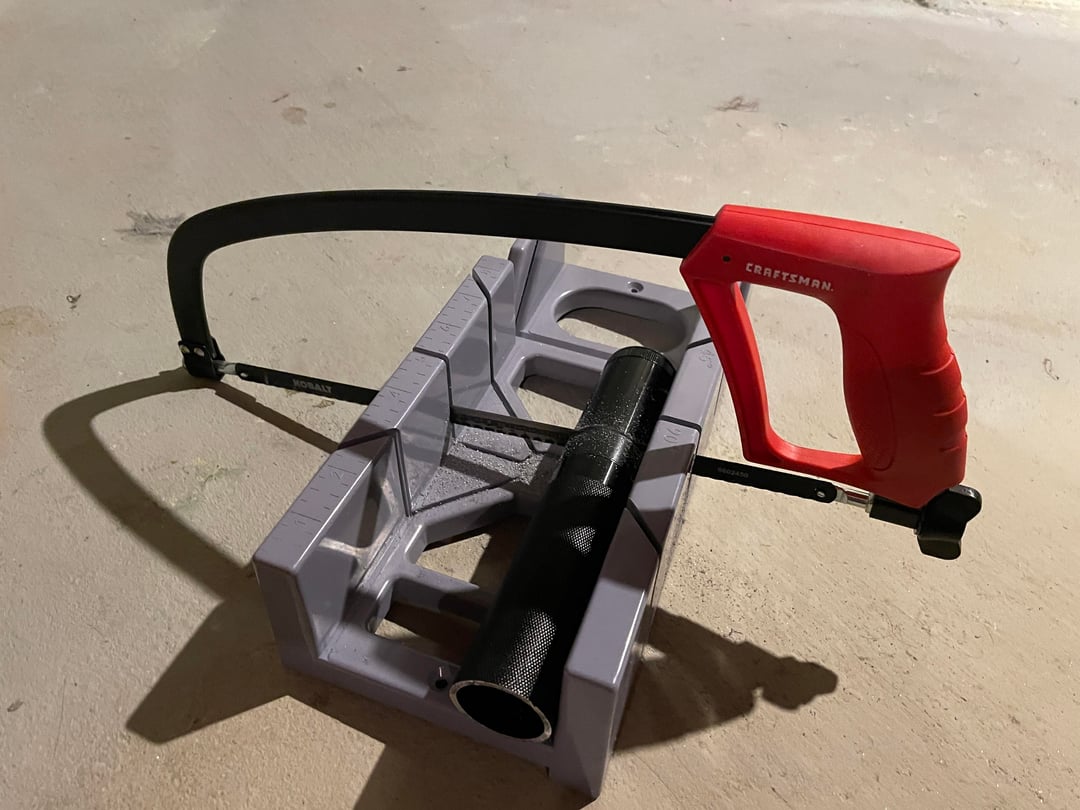
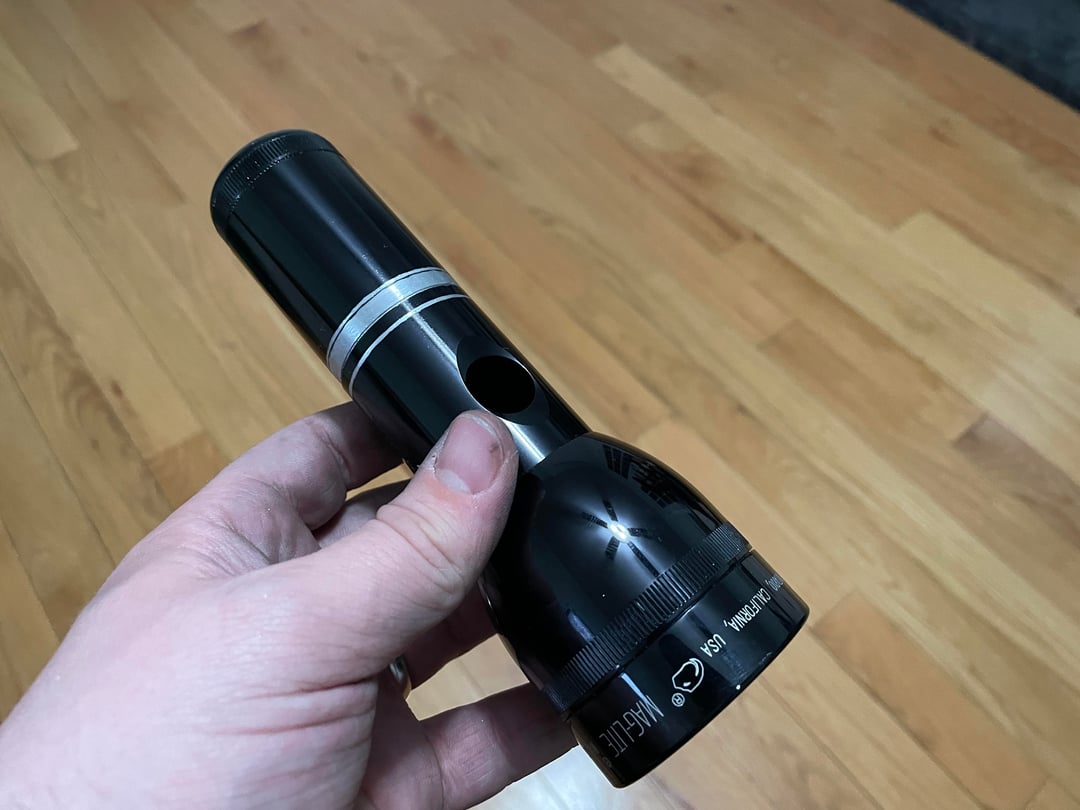
I did some very rudimentary measuring and figured if I hacksawed the knurled portion of the barrel out I could retain enough length to convert this to a 1D set up as well as leaving room to accommodate a 26650 cell for a future mod if I so choose.
I used a cheap Miter Box to roughly line things up. It’s not at all optimal and the tolerances between the hacksaw blade and miter box allowed for a not-quite-squared cut. But it was close enough for me.
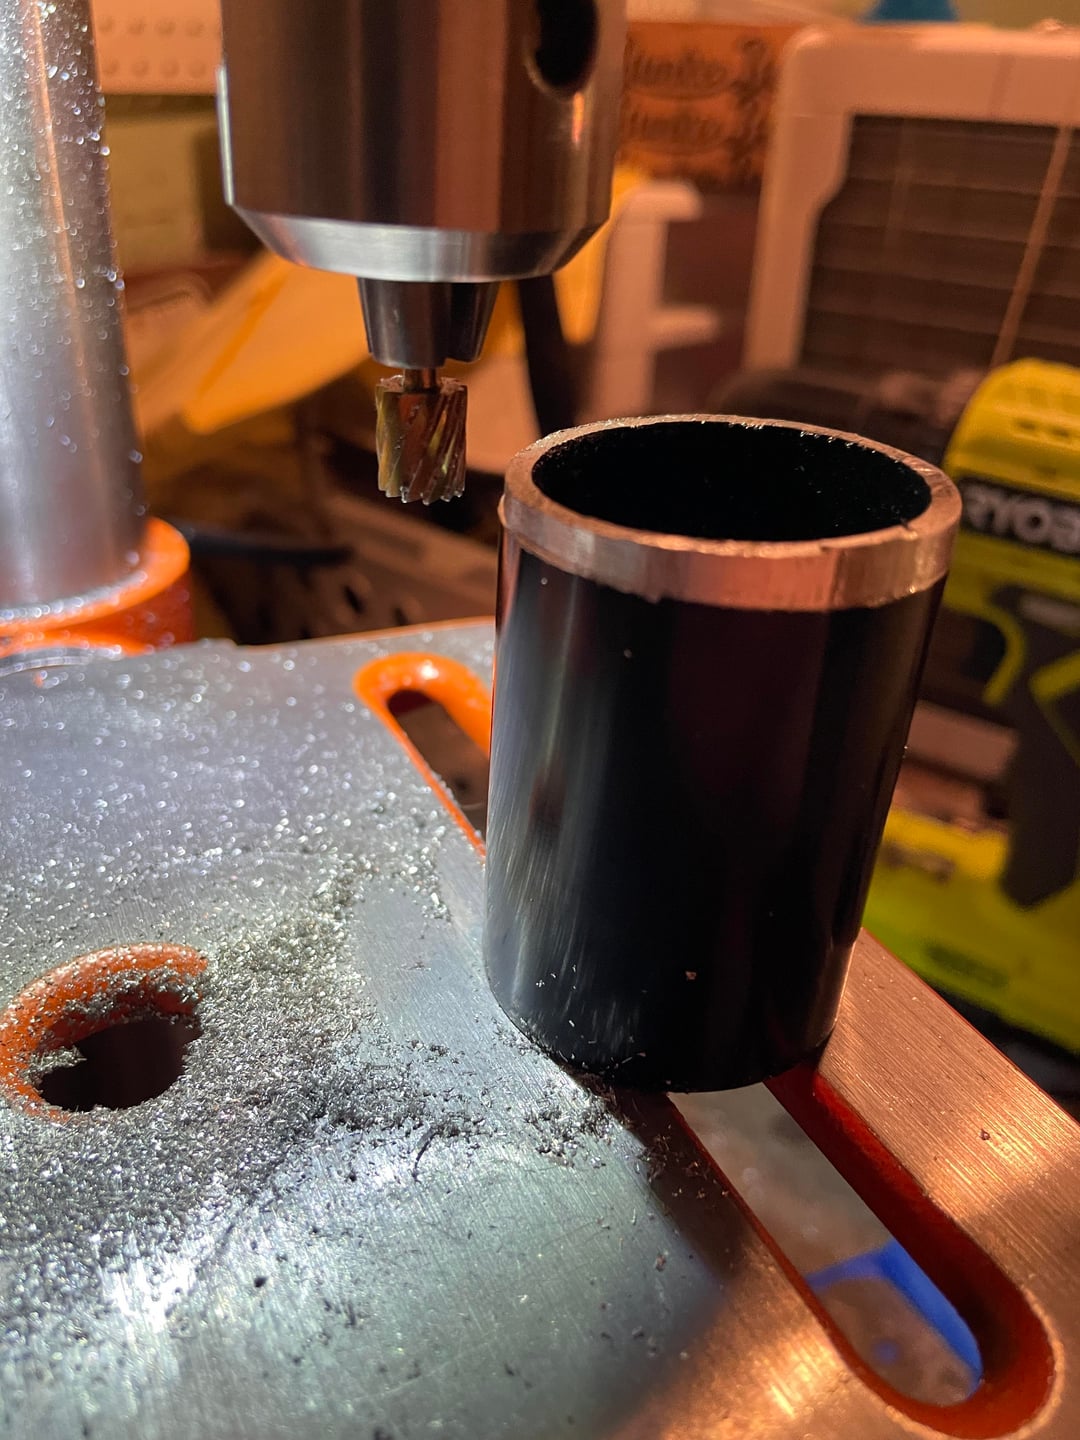
I moved over to my drill press and then started grinding away at the inner diameter of the tube on the switch-side of things. I took more off on this portion than I would the outer diameter because this was easier and more controlled with my set up.
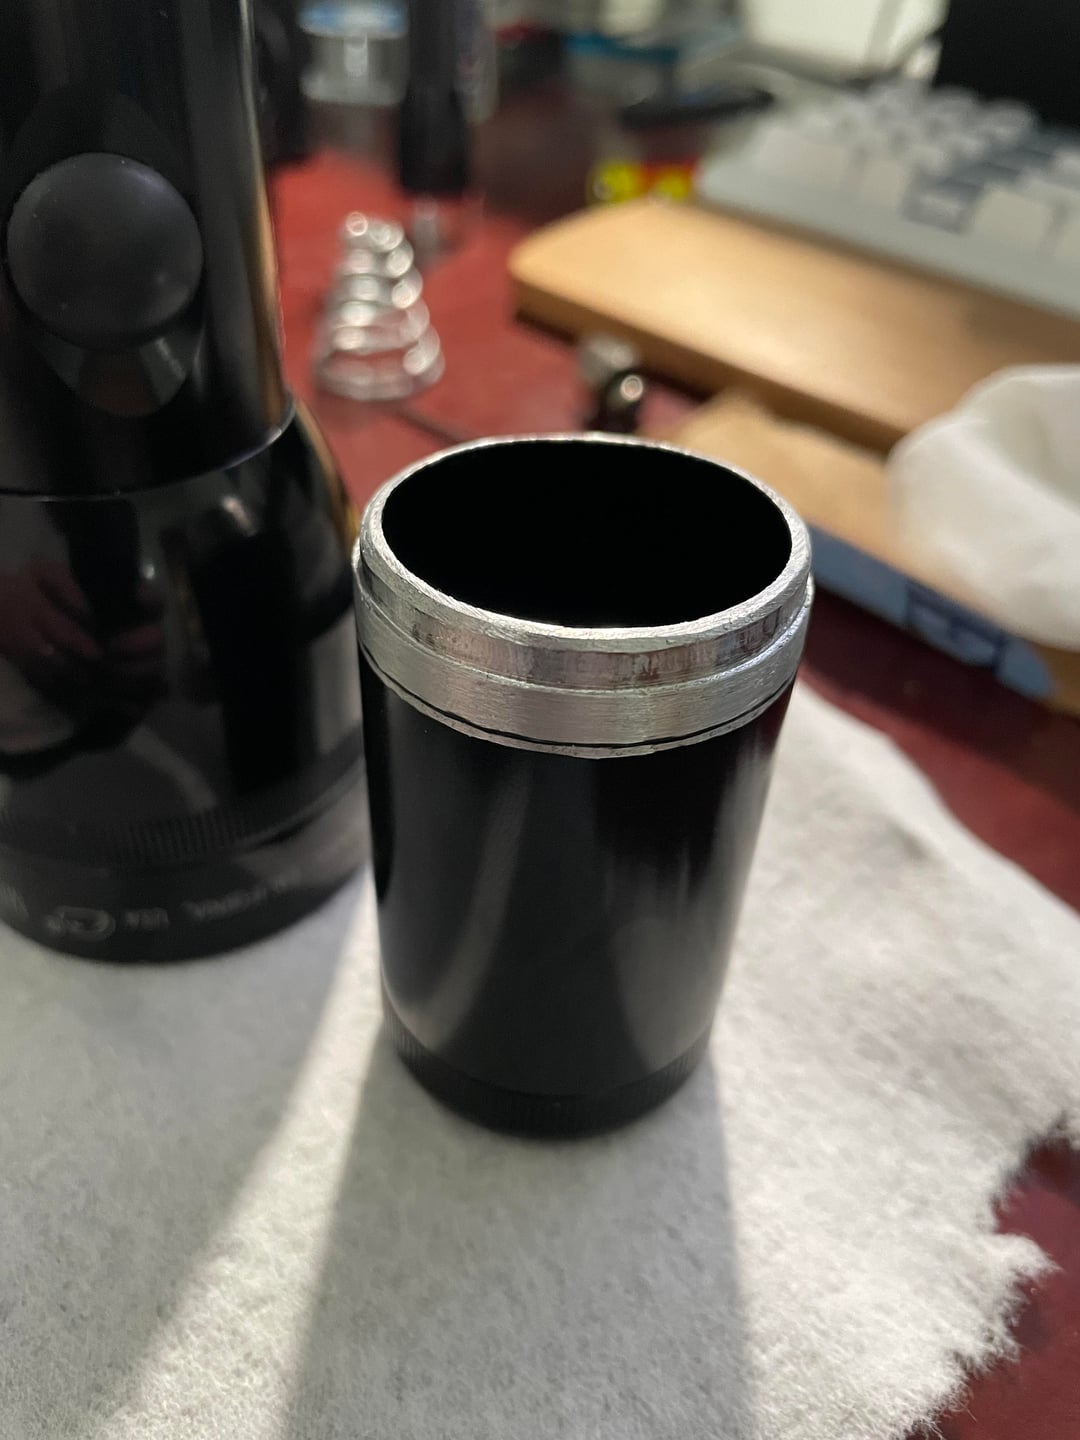
I followed suit on the outer diameter, but unfortunately the bit was flaking off the anodizing in a less-than-even pattern so I resolved to worry about that later. After about 3 hours of combined grinding, the pieces fit together well enough. I did some rudimentary squaring up of the joint, but could only get things so evened.
With everything fitting nice in the test, I moved to some basic, kinda half-hearted cosmetic masking of the joint. Using some other grinding, sanding, and cutting bits I did my best to make an okay looking design to help hide the joint.
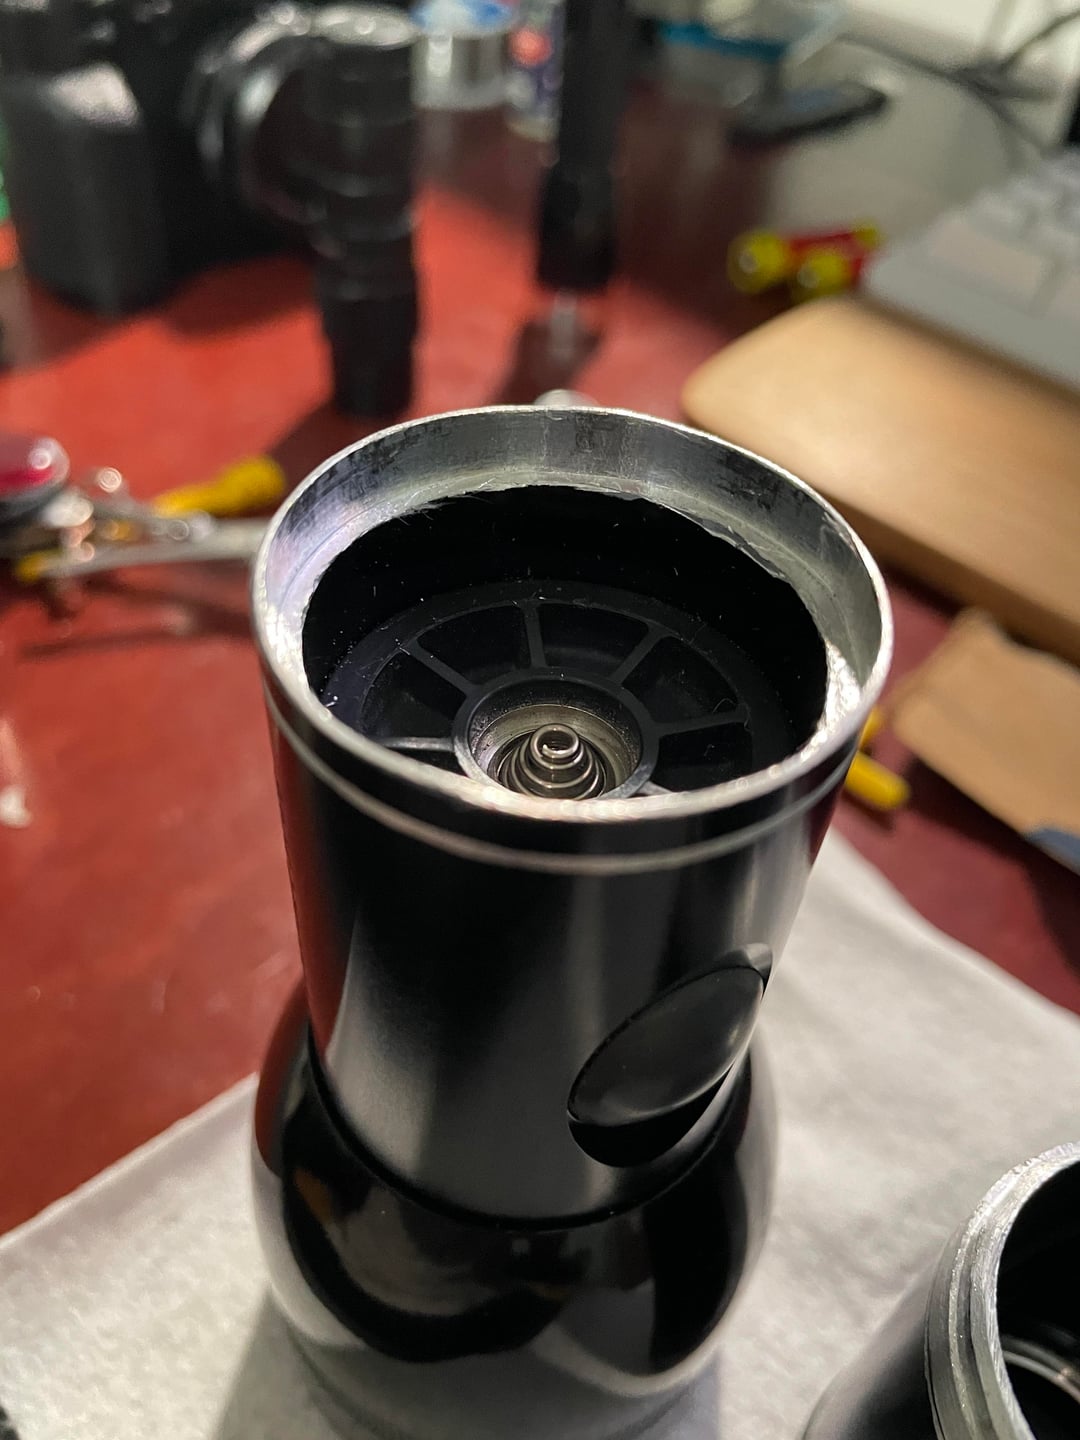
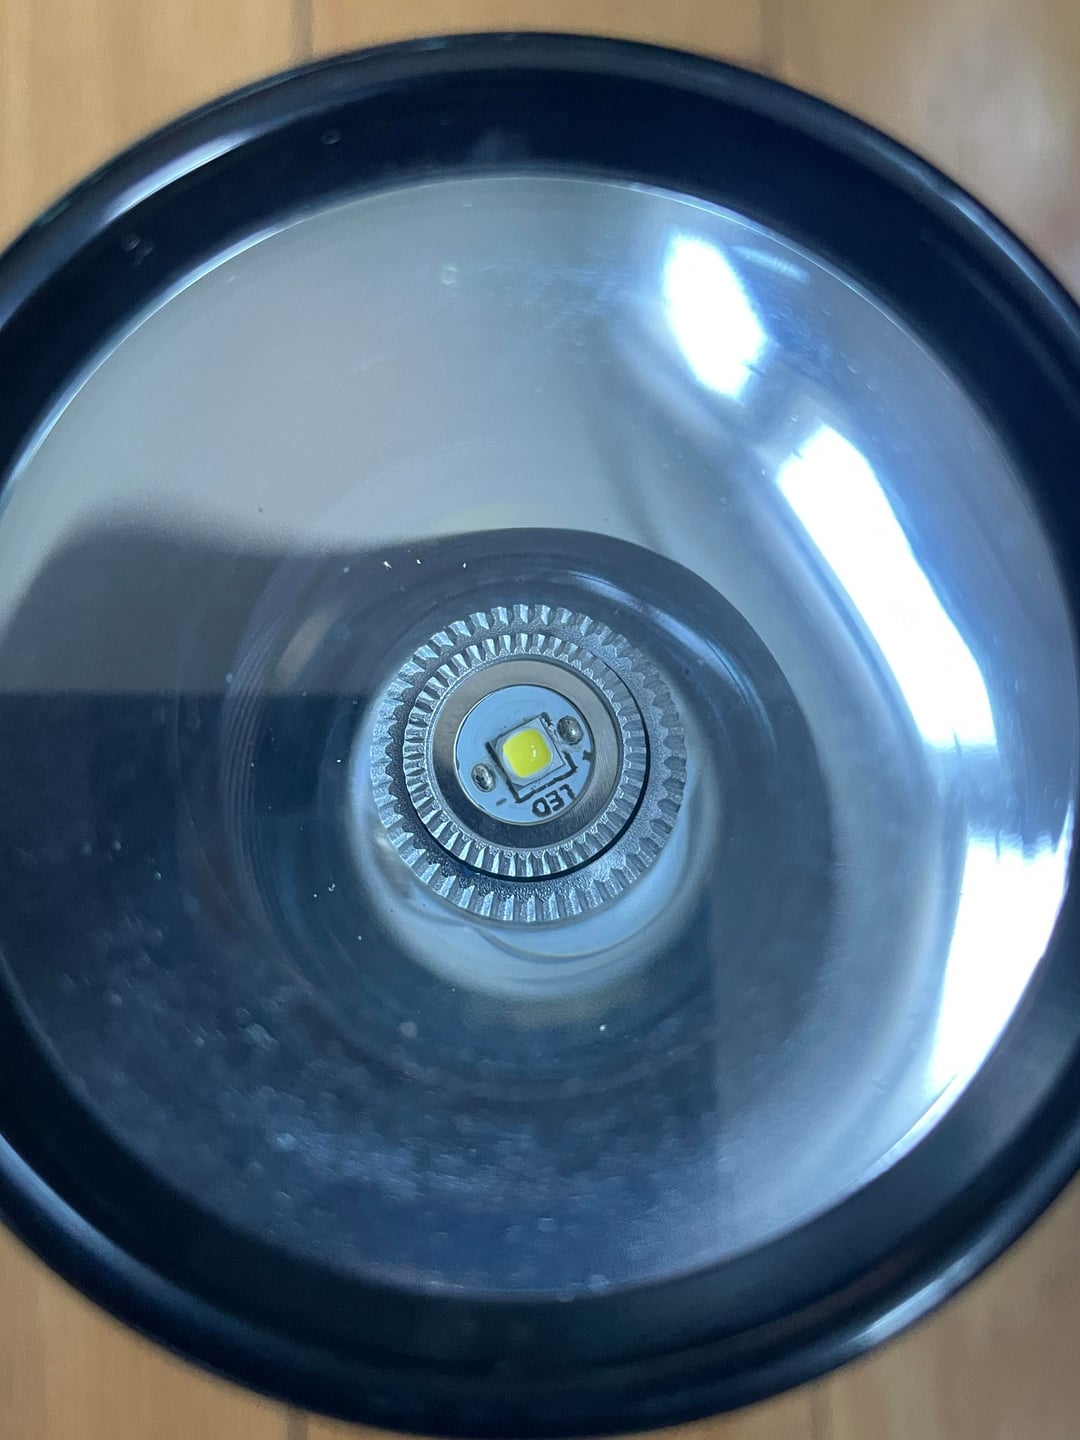
Overnight I JB Welded the joint and it seems like it’s holding up just fine the next day. The stock spring won’t fit with either intended battery configuration so for now I’m just planning on using a small metal spacer to make contact between the tail cap and the negative end of the battery if I’m using a 26650. But a shorty spring from Lumencraft works perfect for a D-Cell. Right now I have a 3xNiMH series adapter and it works great with an LED drop in bulb.
All in all, I’m pretty happy with it for a first attempt. I’ve got some components on the way from Convoy to do a proper LED upgrade eventually. I really love warmer tints and these drop-ins just don’t do it for me. I’ve yet to try any of the warmer PR2 bulbs but something tells me I’d still be left wanting for something like a 519a or similar. Maybe I’ll update again if that happens. But for now I was excited to share this.
Thanks for reading!
by CarryHunt